When it comes to enhancing the beauty and durability of your home’s exterior, Exterior Wood painting plays a pivotal role. Painting wood surfaces outside not only elevates the curb appeal but also protects against weather, pests, and decay. Whether you’re a DIY enthusiast or a professional painter, achieving a smooth and long-lasting finish requires the right tools, techniques, and preparation. This guide will walk you through everything you need to know for successful exterior wood painting.
Why Exterior Wood Painting is Important
Wood is a natural material that is susceptible to moisture, sun damage, and insect infestations. Without proper treatment, exterior wood can warp, crack, or rot over time. A quality coat of paint provides:
- Protection from moisture and UV rays
- Enhanced curb appeal with refreshed colors
- Increased longevity of your wood surfaces
- Resistance to mold and mildew
Keeping these benefits in mind, let’s explore the essential tools and techniques for a flawless paint job.
Essential Tools for Exterior Wood Painting
Having the right tools is half the battle in achieving a professional-looking finish. Here’s a list of must-have items:
- Paintbrushes
- Use high-quality brushes designed for exterior surfaces.
- Synthetic bristles are ideal for water-based paints, while natural bristles work better with oil-based paints.
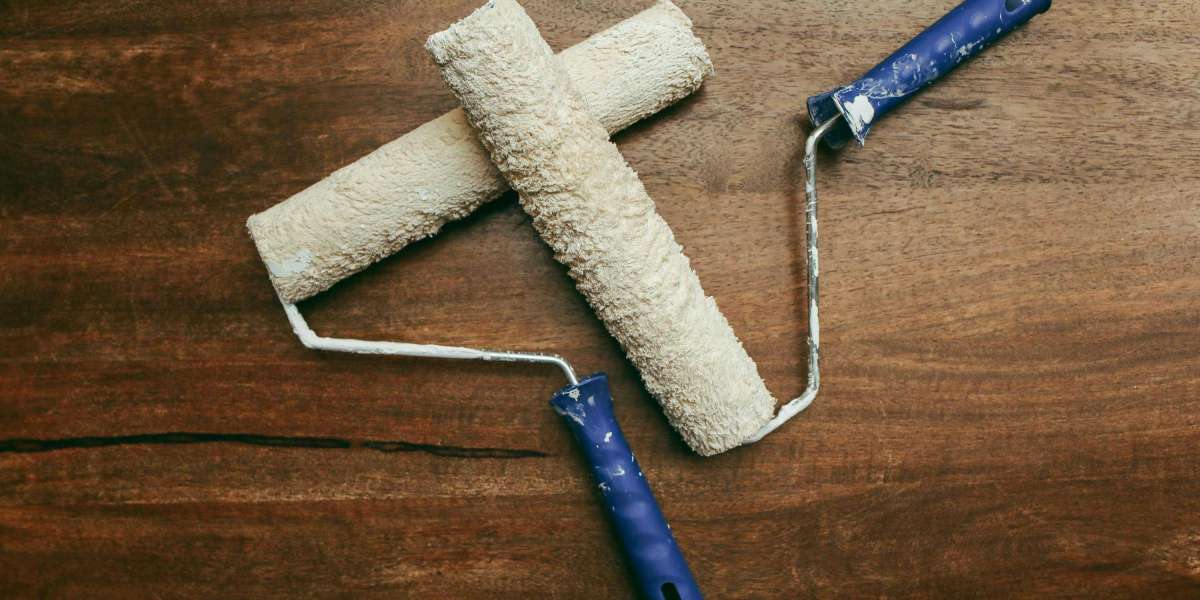
- Paint Rollers
- Rollers help cover large areas quickly.
- Choose a medium-nap roller for smooth wood surfaces and a longer nap for textured or rough wood.
- Paint Sprayer (Optional)
- For large projects, a paint sprayer can save time and provide an even coat.
- Sprayers require masking and preparation to prevent overspray.
- Sandpaper and Sanding Tools
- Sanding ensures a smooth surface for paint adhesion.
- Use coarse grit (80–120) for old paint removal and fine grit (220–320) for finishing touches.
- Painter’s Tape and Drop Cloths
- Protects areas not meant to be painted and keeps your workspace clean.
- Paint Scraper and Putty Knife
- Essential for removing old paint and filling cracks or holes in the wood.
- Primer and Paint
- Always use a primer compatible with exterior wood to improve adhesion and prevent peeling.
- Choose high-quality exterior paint designed for wood surfaces.
Preparing Wood for Exterior Painting
Proper preparation is crucial for a smooth finish and long-lasting results. Skipping prep work can lead to peeling, cracking, and uneven texture.
1. Cleaning the Surface
Remove dirt, dust, mold, and mildew using a mild detergent or a wood cleaner. For heavily soiled areas, a pressure washer may help, but use it cautiously to avoid damaging the wood.
2. Sanding and Smoothing
- Sand the wood to remove old, flaking paint and smooth rough areas.
- Fill cracks, nail holes, and imperfections with exterior wood filler.
- Sand the filler lightly after it dries to maintain a uniform surface.
3. Priming
Priming is essential for exterior wood painting:
- Seals the wood and prevents tannins from bleeding through the paint.
- Enhances paint adhesion and durability.
- Provides a uniform base for better color coverage.
4. Masking and Covering
Use painter’s tape to protect adjacent surfaces like windows, doors, and trim. Lay down drop cloths to catch drips and spills.
Tips and Tricks for a Smooth Finish
Even with the best tools, technique matters. Here are some tips to help you achieve a professional-looking exterior wood painting job:
- Work in Good Weather
- Avoid painting in direct sunlight, high heat, or humid conditions.
- Ideal temperature is between 50°F and 85°F for proper drying and adhesion.
- Use the Right Brush Technique
- Brush in long, even strokes following the wood grain.
- Avoid over-brushing, which can create streaks and uneven texture.
- Apply Thin Coats
- Multiple thin coats are better than one thick coat.
- Thin coats dry faster, reduce drips, and improve durability.
- Maintain a Wet Edge
- Always paint from a wet edge to prevent lap marks and color inconsistencies.
- Allow Proper Drying Time
- Follow the manufacturer’s instructions for drying between coats.
- Patience ensures a smooth and lasting finish.
- Regular Maintenance
- Inspect exterior wood annually for peeling or cracking paint.
- Touch up areas promptly to prevent water damage.
Common Mistakes to Avoid
Even experienced painters can make mistakes that compromise the outcome:
- Painting over dirt, mold, or peeling paint.
- Skipping primer on bare or weathered wood.
- Applying paint too thickly, leading to drips and uneven drying.
- Ignoring weather conditions, which can affect drying and adhesion.
By avoiding these mistakes, your exterior wood painting project will have a professional and durable finish.
Choosing the Right Paint for Exterior Wood
Selecting the right paint is as important as preparation and technique. For exterior wood painting:
- Acrylic Latex Paint – Excellent durability, easy cleanup, and flexibility to handle wood expansion and contraction.
- Oil-Based Paint – Provides a harder finish, ideal for high-traffic areas, but requires mineral spirits for cleanup.
- Solid Stains – Good for textured wood, offering color and protection without hiding the wood grain entirely.
Consider the local climate and wood type when choosing paint to ensure the best performance.
Conclusion
Exterior wood painting is more than just adding color to your home—it’s an investment in protection, beauty, and longevity. With the right tools, preparation, and techniques, even a DIY enthusiast can achieve a smooth and professional finish.
Remember to clean, sand, prime, and paint carefully while following tips like working in suitable weather, applying thin coats, and maintaining a wet edge. Your efforts will pay off in a beautifully painted exterior that enhances both curb appeal and durability for years to come.