In the world of voice acting, your equipment is your instrument. A dedicated studio mic setup allows a performer to capture the full range of their vocal dynamics. Without a controlled environment, the subtle emotions of a script can be lost in background noise.
Designing the Ultimate Studio Mic Setup
Designing a space for recording is an art form. You must consider how sound waves bounce off walls and ceilings. A professional setup minimizes these reflections, allowing the true character of the voice to shine through without artificial coloration from the room.
Selecting the Right Microphone
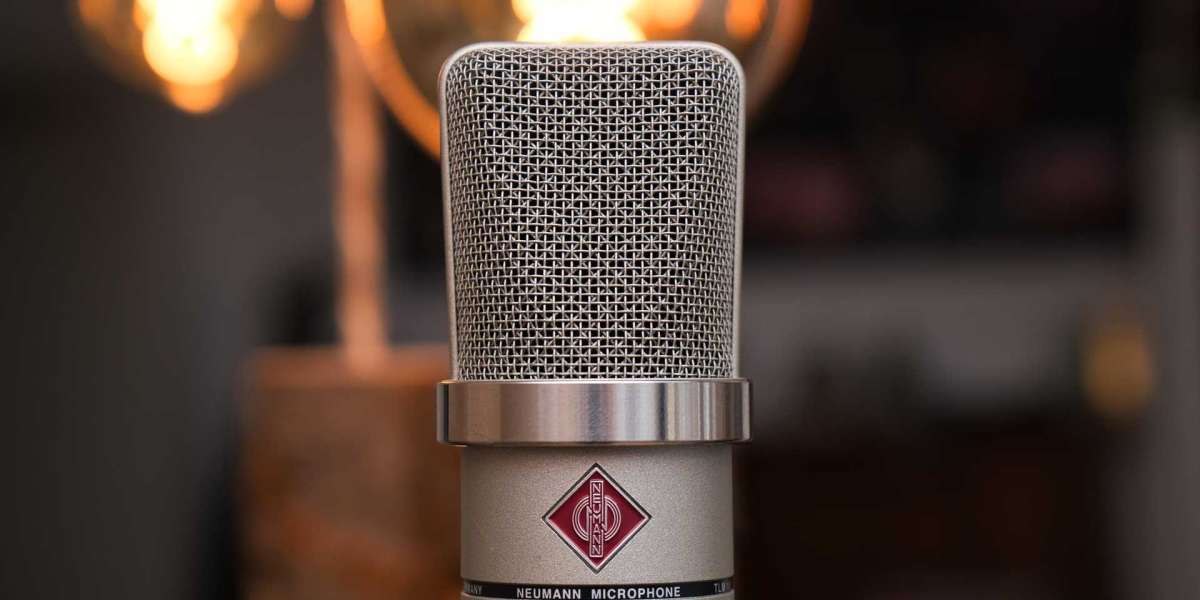
Not all microphones are created equal for voiceover work. Large-diaphragm condenser mics are the industry standard due to their sensitivity. They capture the crisp highs and deep lows that make a voice sound authoritative and engaging to the listener.
Condenser vs. Dynamic Microphones
While dynamic mics are great for loud environments, condensers are preferred for studio work. When integrated into a proper studio mic setup, a condenser microphone provides the clarity needed for audiobooks, commercials, and high-end narrations.
- Condensers require phantom power (48V).
- Dynamic mics are more rugged but less sensitive.
- Choose based on your room's noise floor.
Perfecting the Microphone Setup for Voiceovers
Your physical posture and the height of your equipment are crucial. A microphone setup should be adjusted so the performer can stand or sit comfortably without straining. This ergonomic approach leads to better breath control and a more natural vocal performance.
The 3-to-1 Rule in Recording
If you are using multiple microphones, the 3-to-1 rule helps prevent phase cancellation. However, for most voiceovers, a single mic is used. Ensuring that the mic is pointed directly at the sound source while avoiding reflections is the key to success.
- Check all connections before recording.
- Test levels to avoid clipping.
- Monitor audio with closed-back headphones.
Using Shock Mounts Effectively
A shock mount suspends the microphone in a cradle of elastic bands. This is a vital part of a microphone setup because it absorbs vibrations from the floor or desk. It prevents low-frequency thumps from ruining an otherwise perfect take.
Conclusion
Investing time in your recording space pays dividends in the final product. By prioritizing a professional layout and using the right accessories, you elevate your brand. A high-quality audio output ensures that your clients remain satisfied and your voice remains competitive.