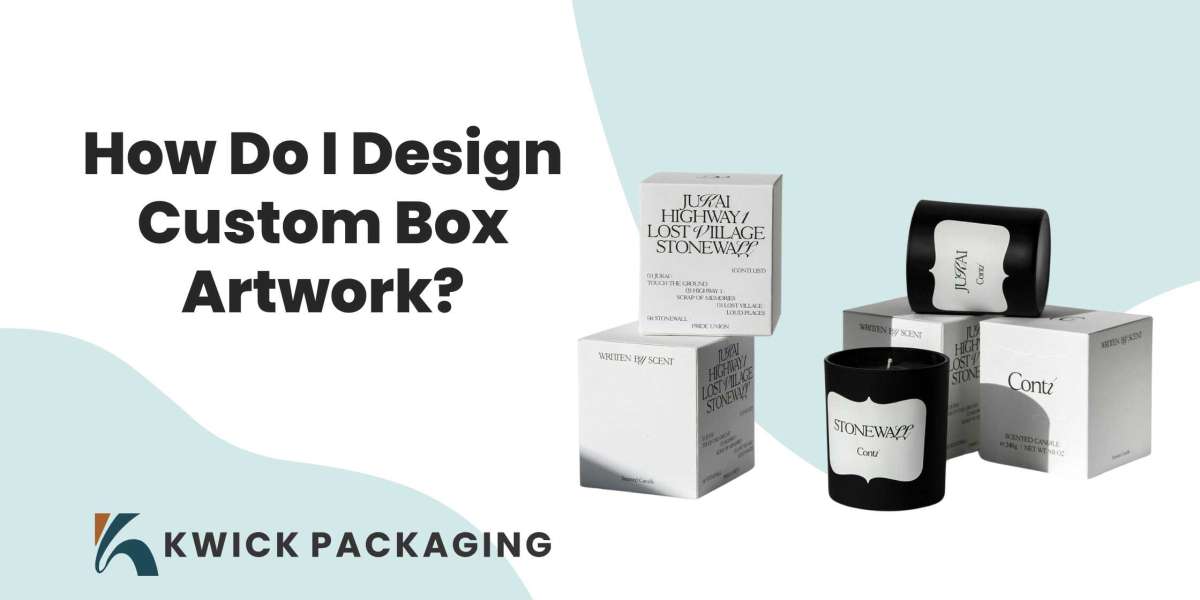
Custom box artwork transforms simple packaging to brand ambassadors who will silently talk about your story each time someone looks at it. If you are wondering “how can I create custom box artwork?” It begins with vision and concludes with visuals that sell as it is a combination of creativity and strategy to shelves that prevent scrolls.
The guide takes you through the steps in a friendly prodding manner and custom box artwork design seems like a conversation with a publishing expert. Turn drawings into ready-to-sell designs, or designs that elevate your products and make unboxers happy. The uplifted surging and customization will be handled carefully as the design of our remarkable and best artwork designs is able to make your branding.
Step 1: Nail Your Brand Voice and Story
The first step to designing a custom box art is to identify what your brand is all about. Write down main vibes: cutesy on snacks, smooth on skincare, macho on tools. Who holds the box? Rushing parents or high-end consumers?
Make mood boards using colors that resonate with your palette, fonts that work with your tone, and icons that are references to your niche. Consider textures, such as matte when you want to be calm, or gloss when you want to be energetic. It is the basis that will make all the pixels bring customers closer in order to become loyal companions to the boxes.
Step 2: Smartly Mapping Box Layout
Boxes are unusual to unfold, therefore strategize plan surfaces well in how I design custom box artwork. Eyes are seized in front, detail in sides, tease in tops. Plot panels using supplier templates to prevent the text division across flaps. Hierarchy: logo first, benefits next, calls-to-action last. Keep the bleed sides free of trims and folds. Pro tip: multi-view impact (mirror designs), so that stacks stick out in every direction.
Step 3: Select Catchy Colors and Fonts
In the design of custom box art, colors do the sales work. Organics are put down to earth and primaries are bold and put forward. Also keep it to 2-3 colors and accents to be unified and also test the colors on your material.
Types go together boldly, sans-serif to keep up with the times and serifs to inspire confidence. Stop at two families, make headlines large to distance reads. Combine with breathing room as white space so the scannability can happen through clutter on the shelves.
Step 4: Graphic and Smart Detail Layer
Bring living with imagery that suits. Photos are in high-resolution, displaying products; patterns introduce rhythm, icons accelerate messages. In how I design custom box artwork, the balance fills in 60 percent maximum in order to avoid overwhelming. Add some light textures such as hints of linen or foils. QR codes make a connection between stories or stores unobtrusively. Windows are shown with content that teases people and the contents of the inside prints, on opening the box, leaves a thank-you or tip that causes a surprise to the unboxers.
Step 5: Ready Files to Print Without Errors
Custom box artwork design is secured by technical polish. Export CMYK in 300 DPI, flatten layers. Embed fonts, take note of Pantones on spot colors. Early stage consult printers finishes such as UV or emboss to match art. Testify digital proofs, adjust contrasts to real ink. This action converts dreams into print avoiding the expensive re-do.
Common Mistakes and Way To Avoiding Them
Eliminate small fonts or edge overcrowding that confuses on shelves. Test store lights in true tones. Custom box artwork design relies on iteration: post draft, get feedback, improve. Winning creates happiness, increases perceived value, and shares.
Learn how, and you have how to make your box artwork, and your wrapping is the trump-card. Boxes are no longer boxes of goods; they are custom cosmetic boxes of things to be said. Be bold, go smart, and see your brand come out beautifully.