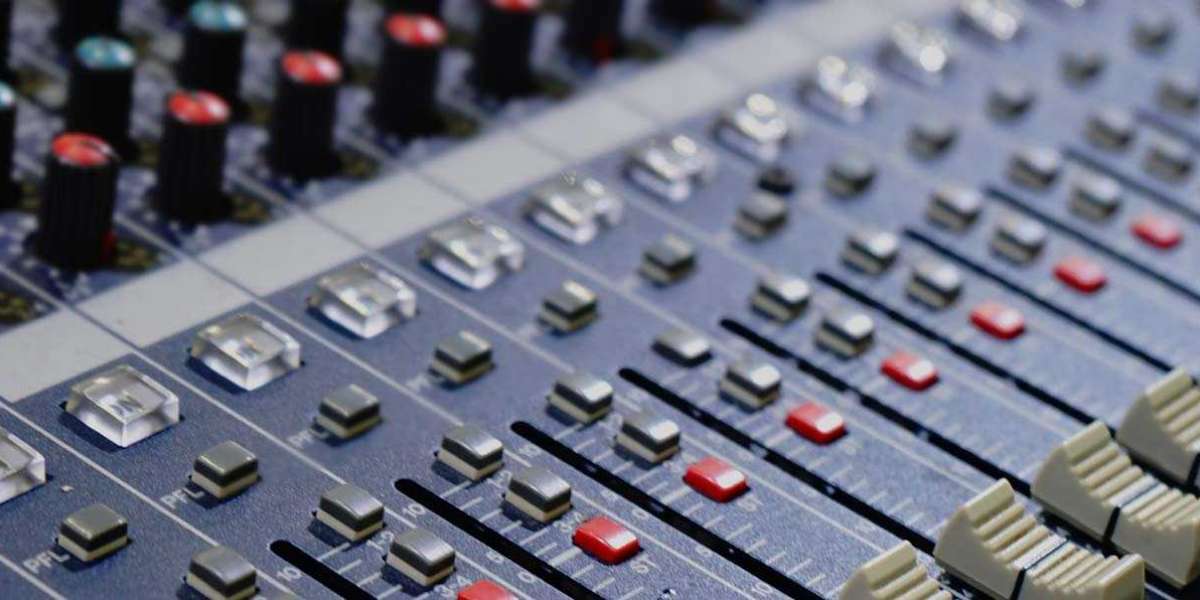
A clear and professional sound starts with the right microphone setup. Whether you’re recording vocals, podcasts, instruments, or voiceovers, the way you arrange your gear plays a huge role in sound quality. A proper studio mic setup involves more than just plugging in your microphone—it’s about positioning, environment, and technique. In this guide, we’ll cover everything you need to know to achieve crisp, professional recordings right from your studio.
Understanding the Basics of Microphone Setup
Before you dive into technical adjustments, it’s important to understand the fundamentals of a microphone setup. At its core, setting up a mic involves choosing the right type of microphone, using proper accessories, and positioning it correctly in your recording space.
Why Microphone Setup Matters
A poorly configured mic can result in unwanted background noise, distortion, or a flat sound. On the other hand, a well-planned studio mic setup ensures clarity, depth, and professional-level audio.
Choosing the Right Microphone for Your Studio Mic Setup
The first step to achieving excellent recordings is selecting the correct microphone.
Dynamic Microphones
- Best for loud sound sources like drums or guitar amps.
- Less sensitive to background noise.
Condenser Microphones
- Perfect for vocals, voiceovers, and acoustic instruments.
- Highly sensitive, capturing details with precision.
Ribbon Microphones
- Offer a warm, vintage sound.
- Best for controlled studio environments.
Your choice depends on the kind of recordings you’re planning to make, but for most home and professional studios, a condenser microphone is the go-to option.
Essential Accessories for a Proper Microphone Setup
A complete studio mic setup is more than just the microphone itself. Supporting accessories can significantly enhance sound quality and comfort.
Pop Filter
Prevents plosive sounds (like “p” and “b”) from distorting recordings.
Shock Mount
Reduces vibrations from desk movement or mic stands.
Boom Arm or Stand
Provides flexibility in mic positioning and helps reduce handling noise.
Audio Interface
Converts your microphone signal into digital audio for your computer.
Positioning Your Microphone in a Studio Mic Setup
Proper mic placement is key to achieving clean, balanced sound.
For Vocals
- Place the mic about 6–12 inches from your mouth.
- Use a pop filter between you and the microphone.
- Angle the mic slightly off-axis to reduce sibilance.
For Instruments
- Acoustic Guitar: Position near the 12th fret, around 6 inches away.
- Drums: Place overhead mics for full coverage or close-mic specific drums.
For Podcasts or Voiceovers
- Keep the mic at mouth level.
- Maintain consistent distance to avoid volume fluctuations.
Acoustic Treatment in Your Studio Mic Setup
Even the best microphone won’t perform well in a poor acoustic environment. Sound reflections from hard surfaces can cause echo and muddy recordings.
Tips for Acoustic Treatment:
- Use foam panels or diffusers on walls.
- Place rugs or carpets on the floor to absorb reflections.
- Record in a smaller, treated space rather than a large, empty room.
Common Mistakes in Microphone Setup and How to Avoid Them
- Being too close to the mic – causes distortion and proximity effect.
- Recording in untreated spaces – leads to echo and background noise.
- Ignoring gain levels – can result in clipping or weak audio signals.
- Using the wrong polar pattern – affects how sound is captured.
Tips for a Professional Studio Mic Setup
- Always test recordings before final takes.
- Experiment with angles and distances.
- Maintain consistent posture and mic placement.
- Keep your recording area quiet and free from background noise.
Final Thoughts
A professional-quality recording starts with a well-planned microphone setup. From choosing the right mic to proper placement and acoustic treatment, every step plays an important role. With the right studio mic setup, you can achieve crystal-clear sound that elevates your work—whether it’s music, podcasts, or voiceovers.
FAQs
Q1: What is the best type of microphone for home studios?
A condenser microphone is usually best for vocals and general studio use because of its sensitivity and clarity.
Q2: How far should I be from the microphone when recording vocals?
Ideally, 6–12 inches, depending on the style and mic sensitivity.
Q3: Do I need acoustic treatment for a studio mic setup?
Yes, acoustic treatment significantly improves sound quality by reducing echoes and reflections.
Q4: What accessories are essential for a proper microphone setup?
A pop filter, shock mount, mic stand, and audio interface are highly recommended.
Q5: Can I use a USB microphone for professional recordings?
USB microphones are convenient for beginners, but XLR microphones with an audio interface offer higher quality for professional use.


