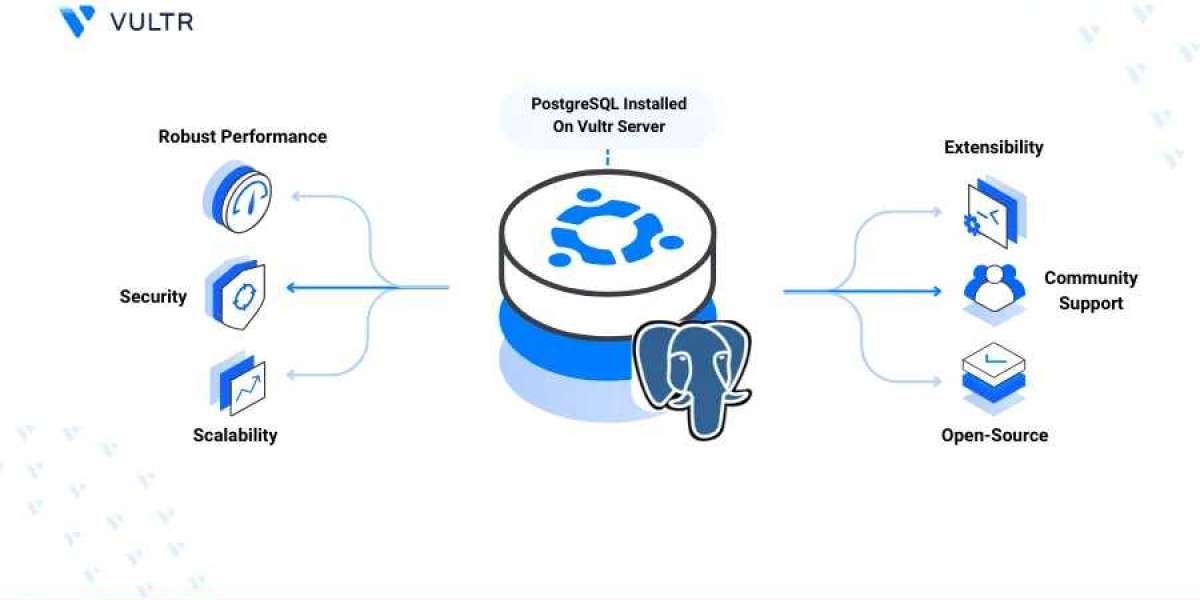
PostgreSQL is one of the most popular open-source relational database management systems. Known for its stability, scalability, and advanced features, it is widely used by developers, data analysts, and businesses worldwide. If you are working on Ubuntu 24.04 and want a reliable database solution, learning how to install PostgreSQL on Ubuntu 24.04 is essential. This guide provides easy instructions to help you install PostgreSQL quickly, configure it, and get started with database management.
Step 1: Update Your System
Before starting any installation, it’s important to ensure your system packages are up to date. Open your terminal and run the following commands:
sudo apt update
sudo apt upgrade -y
Updating your system ensures you have the latest security patches and package versions, which reduces the chances of conflicts during installation.
Step 2: Install PostgreSQL
Ubuntu 24.04 includes PostgreSQL in its default repositories, making installation straightforward. To install PostgreSQL along with additional useful modules, run:
sudo apt install postgresql postgresql-contrib -y
The postgresql-contrib package provides extra tools and extensions that enhance PostgreSQL’s functionality. After installation, PostgreSQL will start automatically. You can check if the service is running using:
sudo systemctl status postgresql
If the service is active, PostgreSQL is installed successfully and ready for use.
Step 3: Switch to PostgreSQL User
PostgreSQL creates a default system user named postgres. To manage databases, you need to switch to this user:
sudo -i -u postgres
Once switched, access the PostgreSQL command-line interface with:
psql
You can exit the interface anytime by typing \q.
Step 4: Create a New Database
It’s good practice to create a dedicated database to organize your data. For example, to create a database named mydb, run:
createdb mydb
After creating the database, you can connect to it, create tables, insert data, and run queries efficiently.
Step 5: Basic PostgreSQL Commands
Knowing a few basic commands will help you manage PostgreSQL effectively:
- Connect to a database:
psql -d mydb
- List all databases:
\l
- List all tables in a database:
\dt
- Exit the PostgreSQL interface:
\q
These commands make database management simple and straightforward for beginners.
Step 6: Configure PostgreSQL for Remote Access (Optional)
If you want to access PostgreSQL from another machine, you need to modify the postgresql.conf and pg_hba.conf files to allow connections from specific IP addresses. After making changes, restart PostgreSQL to apply the configuration:
sudo systemctl restart postgresql
This ensures PostgreSQL is ready to accept remote connections securely.
Step 7: Official Documentation
For more detailed instructions on how to install PostgreSQL on Ubuntu 24.04, troubleshooting tips, and advanced configurations, refer to the official guide at Vultr. The documentation provides complete step-by-step instructions suitable for both beginners and experienced users.
Conclusion
Installing PostgreSQL on Ubuntu 24.04 is simple and straightforward when you follow the right steps. PostgreSQL provides a robust, secure, and scalable database solution suitable for a variety of applications, from small projects to enterprise-level systems. By following this guide, you can install PostgreSQL, create databases, and start managing your data efficiently.
For official instructions and additional guidance, visit Vultr’s guide on how to install PostgreSQL on Ubuntu 24.04. This ensures a smooth installation process and a solid foundation for all your PostgreSQL projects.