With the increasing popularity of solar energy, many homeowners are looking for ways to maximize the efficiency of their solar panels. One way to do this is by installing a solar tracker, a device that automatically adjusts the position of the solar panels to track the movement of the sun. In this article, we will explore the benefits of installing a dual axis solar tracker and provide a step-by-step guide on how to install one yourself.
Why Choose a Dual Axis Solar Tracker?
A dual axis solar tracker is a more advanced version of the traditional single-axis tracker. While a single-axis tracker only adjusts the tilt of the solar panels to track the sun's movement across the sky, a dual axis tracker also adjusts the azimuth, or the east-west movement of the sun. This dual axis movement allows for even greater efficiency and can increase the energy output of your solar panels by up to 40%.
Installing a dual axis solar tracker may require a bit more time and effort than installing a single-axis tracker, but the benefits are well worth it. By constantly adjusting the position of the solar panels to capture the maximum amount of sunlight, a dual axis tracker can significantly increase the energy output of your solar panels, ultimately saving you money on your electricity bills.
Step-by-Step Guide to DIY Solar Tracker Installation
Step 1: Gather Your Materials
Before you begin, make sure you have all the necessary materials for the installation. This may include solar panels, a dual axis solar tracker kit, mounting hardware, and tools such as a drill, wrench, and screwdriver. You can find a comprehensive list of materials and tools needed for your installation at howtodiysolar.com.
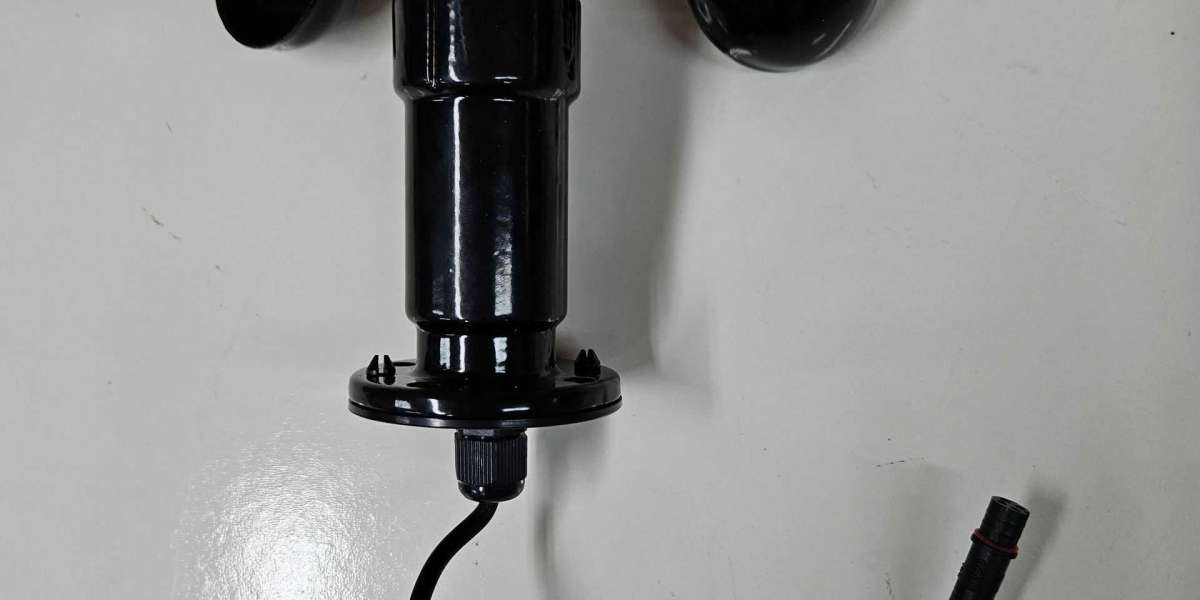
Step 2: Set Up the Dual Axis Tracker
Begin by setting up the dual axis tracker according to the manufacturer's instructions. This may involve assembling the tracker structure, connecting the motor and sensors, and calibrating the tracking system. Make sure to follow the instructions carefully to ensure the proper functioning of the tracker.
Step 3: Mount the Solar Panels
Once the dual axis tracker is set up, it's time to mount the solar panels. Securely attach the panels to the tracker structure using the mounting hardware provided. Make sure the panels are positioned securely and are facing the sun to maximize energy output.
Step 4: Connect the Tracker to Your Solar System
After the solar panels are mounted, connect the dual axis tracker to your solar system. This may involve connecting the tracker motor to a power source and integrating the tracker with your solar inverter. Again, refer to the manufacturer's instructions for guidance on connecting the tracker to your system.
Step 5: Test the Tracker
Once everything is connected, it's time to test the tracker to ensure it is functioning properly. Activate the tracking system and observe the movement of the solar panels. The panels should follow the sun's path across the sky, adjusting both tilt and azimuth to maximize sunlight exposure.
Conclusion
By installing a dual axis solar tracker, you can significantly increase the efficiency of your solar panels and maximize your energy output. While the installation process may require some time and effort, the benefits of a dual axis tracker far outweigh the initial investment. To learn more about solar tracker installation and maintenance, visit howtodiysolar.com for expert tips and advice. Start harnessing the power of the sun today with a dual axis solar tracker!


