A weak Wi-Fi signal can be frustrating, especially in large homes or offices. The Wavlink extender setup process is designed to help eliminate dead zones and extend your wireless coverage quickly and efficiently. With just a few simple steps, you can enhance your internet performance and enjoy uninterrupted connectivity.
To begin, place your Wavlink Wi-Fi extender within range of your existing router and power it on. You can complete the setup using either the web browser method or the WPS option. For browser-based setup, connect your device to the extender’s network, open a browser, and access the extender’s login page. Follow the on-screen instructions to select your main Wi-Fi network and enter the password to complete the configuration.
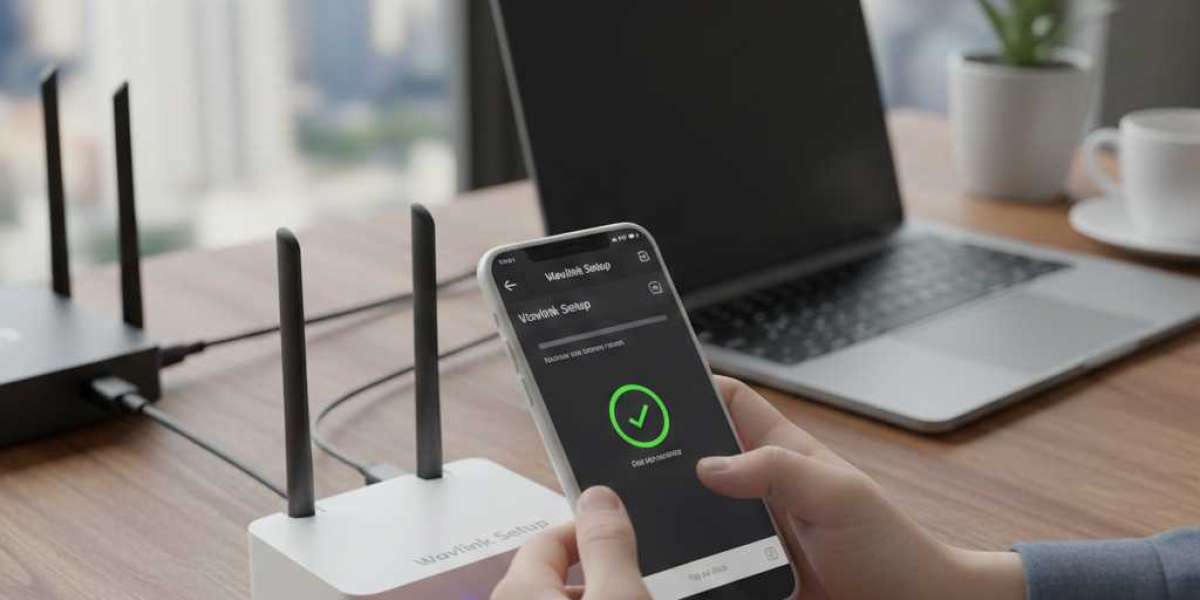
Alternatively, the WPS method allows for a faster setup. Simply press the WPS button on your router and then on the Wavlink extender. Once the indicator light becomes stable, the extender is successfully connected and ready to use.
After completing the Wavlink extender setup, relocate the device to an area where Wi-Fi coverage is weak. This ensures optimal signal strength and improved internet performance throughout your space. With proper placement and configuration, a Wavlink extender can significantly enhance your overall wireless experience.